
Vinyl fencing is one of the most popular choices for homeowners who want a clean, low-maintenance boundary around their property. It looks sharp when it’s new, but over time, dirt, algae, mold, and weather exposure can leave it looking dull and grimy. The good news is that cleaning a vinyl fence is straightforward when you know the right approach.
Most people assume vinyl fences clean themselves because they’re non-porous and smooth. That’s partially true — they don’t absorb stains the way wood does — but they still collect surface buildup that needs regular attention. If you’ve been putting off cleaning yours, this guide walks you through everything from a quick rinse to a full deep clean.
If you’re still deciding on fencing materials, it’s worth reading this comparison of vinyl, wood, and aluminum fencing before committing. But if vinyl is already installed and needs a refresh, keep reading.
Understanding Vinyl Fences and Cleaning Basics
What vinyl fencing is and why it gets dirty
Vinyl fence panels are made from PVC plastic, which is durable, weather-resistant, and doesn’t rot or rust. However, the smooth surface still attracts dirt and grime, especially in humid or shaded areas. Algae, mold, and mildew thrive on moisture that collects on fence posts and panels.
UV damage is another factor. Prolonged sun exposure can cause the surface to oxidize, leaving a chalky white residue that makes the fence look faded. Dirt sticks more easily to oxidized surfaces, which is why older fences tend to look worse faster.
Tools, supplies, and safety precautions
Before you start, gather everything you need so the job goes smoothly. Having the right tools makes a real difference in how fast and effectively you clean.
| Tool or Supply | Best Used For | Notes |
|---|---|---|
| Garden hose | Pre-rinsing and final rinse | Use a spray nozzle for better pressure |
| Soft brush or sponge | Routine hand-washing | Avoid abrasive scrubbers |
| Scrub brush | Stubborn stains and mold | Medium bristle works best |
| Spray bottle | Applying targeted cleaning solution | Great for spot treatments |
| Pressure washer | Deep cleaning large sections | Use low PSI setting only |
| White vinegar | Mold, mildew, and algae | Safe for most surfaces |
| Dish soap | General cleaning solution | Mix with warm water |
| Bleach | White vinyl only, heavy stains | Dilute properly before use |
Always wear gloves when working with bleach or strong cleaning solutions. If you’re using a pressure washer, wear eye protection. Keep pets and children away from the area until the fence is fully rinsed and dry.
How often you should clean a vinyl fence
A light rinse with a garden hose every few weeks keeps surface dust and pollen from building up. A more thorough hand-wash with a cleaning solution should happen at least twice a year. If you live in a humid climate or have trees nearby, you may need to clean more frequently to prevent algae and mold growth.
Keeping your vinyl fence looking new is mostly about consistency. Small, regular cleanings prevent the kind of heavy buildup that requires hours of scrubbing later.
Step-by-Step: Routine Cleaning for Light Dirt and Grime
Pre-rinsing to remove loose debris
Start by spraying the entire fence with a garden hose. Work from top to bottom so loose dirt and debris fall downward and don’t re-contaminate areas you’ve already cleaned. This step removes surface dust, cobwebs, and light grime before you apply any cleaning solution.
Pay extra attention to fence posts and the base of each panel where dirt tends to collect. A strong spray nozzle helps dislodge debris from crevices and textured surfaces.
Mixing a gentle cleaning solution
For routine cleaning, a simple mix of warm water and dish soap works well. Add a few drops of dish soap to a bucket of warm water and stir until it’s slightly sudsy. This is gentle enough to use on all vinyl colors without causing discoloration.
Avoid harsh chemical cleaners or anything with acetone, which can damage the vinyl surface. Stick to mild soap-based solutions for regular maintenance. If you want a little extra cleaning power, add a quarter cup of baking soda to the mix.
Hand-washing with a soft brush or sponge
Dip a soft brush or sponge into your cleaning solution and work in sections. Start at the top of each fence panel and scrub downward using circular motions. This prevents dirty water from dripping onto clean areas.
For tighter spots or decorative details, use an old toothbrush or a smaller scrub brush. Take your time on fence posts, which tend to collect more grime than flat panels. Rinse your brush frequently to avoid spreading dirt around.
Rinsing and drying for a streak-free finish
Once you’ve scrubbed a section, rinse it immediately with the garden hose before the soap dries. Dried soap leaves streaks and residue that can attract more dirt. Work in manageable sections rather than soaping the entire fence at once.
After rinsing, let the fence air dry in the sun. If you notice streaks, wipe them down with a clean microfiber cloth. A streak-free finish makes the fence look noticeably cleaner and brighter.
Deep Cleaning Stains, Algae, Mold, and Mildew
Identifying types of stains and choosing the right cleaner
Not all stains are the same, and using the wrong cleaner wastes time. Green discoloration is usually algae, while black or dark gray spots typically indicate mold and mildew. Brown or rust-colored stains often come from iron in water or nearby metal hardware.
- Green stains: algae from moisture and shade
- Black spots: mold or mildew growth
- Yellow or brown marks: rust, tannins, or hard water deposits
- Gray chalky film: UV damage and oxidation
- Scuff marks: contact with lawn equipment or debris
Matching the cleaner to the stain type makes the job faster and more effective. Using bleach on rust stains, for example, won’t help and may make them worse.
Using vinegar and other mild solutions safely
White vinegar is one of the most effective and safest cleaners for vinyl fences. It cuts through mold, mildew, and algae without harsh chemicals. Mix equal parts white vinegar and water in a spray bottle, apply directly to the stained area, and let it sit for five to ten minutes before scrubbing.
For tougher stains, make a paste using baking soda and a small amount of water. Apply it to the stain, let it sit briefly, then scrub with a soft brush. This combination works well on dirt and grime that has been sitting for a while.
When and how to use bleach on white vinyl only
Bleach is effective for heavy mold and mildew on white vinyl fences, but it must be used carefully. Never use bleach on colored or tinted vinyl, as it will cause permanent discoloration. Always dilute bleach before applying — a ratio of one part bleach to ten parts water is sufficient for most stains.
Apply the diluted bleach solution with a spray bottle or sponge, let it sit for a few minutes, then scrub and rinse thoroughly. Avoid letting bleach sit too long, and never mix it with vinegar or other cleaners. Rinse the area completely with water to remove all bleach residue.
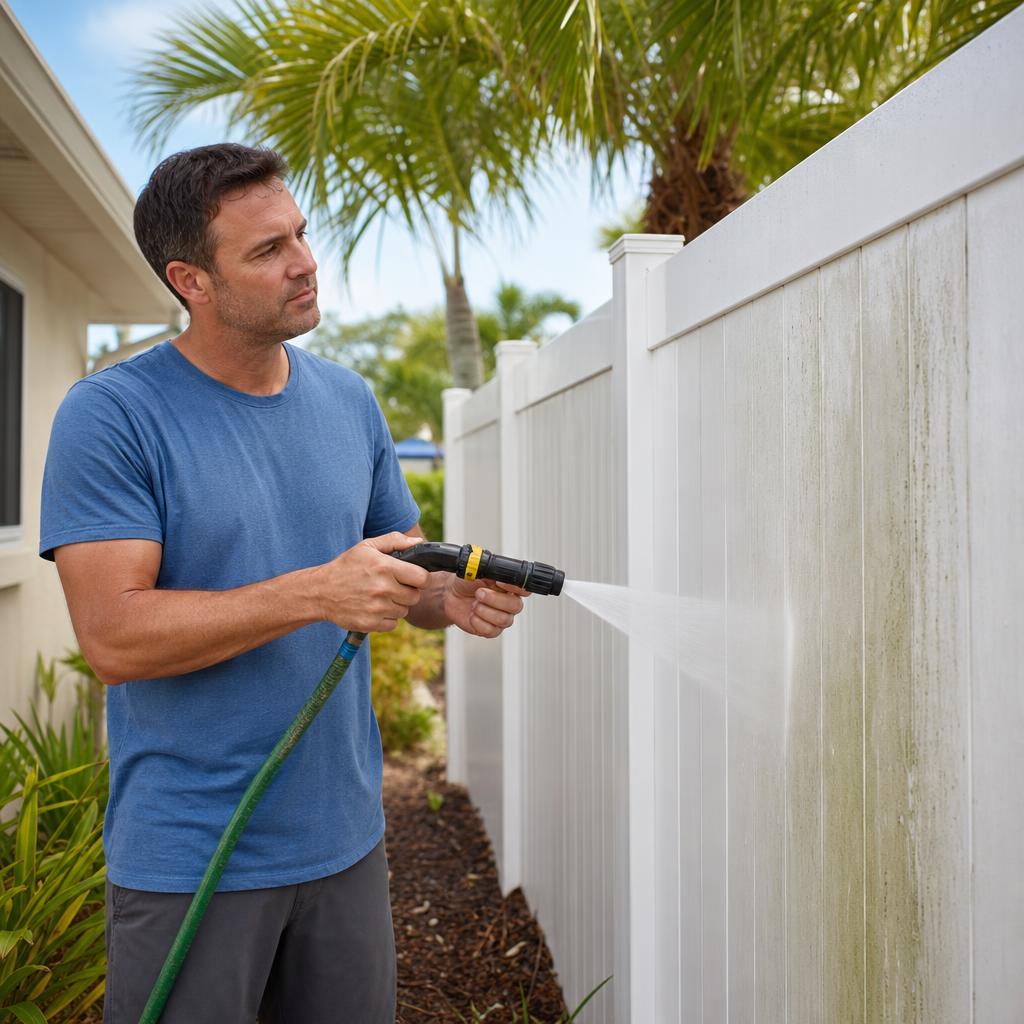
Pressure washer techniques to avoid damaging vinyl
A pressure washer speeds up the cleaning process significantly, but incorrect use can crack or warp vinyl fence panels. Always use a wide-angle nozzle, typically a 40-degree tip, and keep the pressure below 1,500 PSI. Hold the wand at least twelve inches from the surface.
Spray at a slight downward angle rather than directly perpendicular to the fence. This prevents water from forcing its way into seams or behind panels. Move the wand in smooth, consistent strokes and avoid lingering in one spot.
Preventive Maintenance and Troubleshooting Common Problems
Preventing future buildup and discoloration
The easiest way to keep a vinyl fence clean is to prevent heavy buildup from forming in the first place. Rinse the fence with a garden hose after heavy rain or wind events that deposit pollen and debris. Trim back plants and shrubs that press against the fence, since organic material accelerates mold growth.
Applying a protective coating or vinyl protectant after cleaning adds a layer of defense against UV damage and makes future cleaning easier. These products are available at most hardware stores and are simple to apply with a cloth or sponge.
Dealing with scuffs, scratches, and chalky residue
Scuff marks from lawn mowers or garden tools can often be removed with a magic eraser. Dampen the magic eraser and rub gently over the scuff in a circular motion. This works surprisingly well on surface marks without scratching the vinyl.
Chalky residue from UV damage requires a bit more effort. Apply a vinyl restorer product or a paste of baking soda and water, scrub with a soft brush, and rinse well. For deep scratches, touch-up paint designed for vinyl can minimize their appearance, though it won’t make them disappear entirely.
Working around landscaping, hardware, and tight spots
Fence hardware like hinges, latches, and post caps can trap dirt and are easy to overlook. Use a small scrub brush or old toothbrush to clean around metal hardware. Avoid soaking metal components in bleach solutions, as this can cause corrosion.
When cleaning near garden beds or grass, wet the surrounding plants with plain water before applying any cleaning solution. This dilutes any runoff and reduces the chance of chemical damage to your landscaping. If you’re maintaining a fence in a particularly humid region, the guidance on fence care in Florida’s climate offers useful tips that apply to other warm, wet environments as well.
Conclusion
Cleaning a vinyl fence doesn’t require expensive equipment or a full weekend of work. With the right tools, a good cleaning solution, and a consistent routine, you can keep your fence looking sharp with minimal effort. Routine maintenance prevents the kind of deep staining that turns a simple rinse into a major project.
Start with the gentlest method first — soap, warm water, and a soft brush — and escalate to stronger solutions only when needed. Protect your investment by rinsing regularly, applying a protective coating, and addressing stains before they set. A clean fence adds real curb appeal and extends the life of your fencing for years to come.
FAQ
Can I use a pressure washer on my vinyl fence without damaging it?
Yes, but technique matters. Use a wide-angle nozzle, keep pressure below 1,500 PSI, and maintain at least twelve inches of distance from the surface. Avoid concentrating the spray in one spot for too long, and always spray at a slight downward angle to prevent water from getting behind fence panels.
What is the safest cleaner for vinyl if I have pets and plants nearby?
A mix of warm water and dish soap is the safest option around pets and plants. White vinegar diluted with water is also a good choice — it’s non-toxic once dry and effective against mold and algae. Wet surrounding plants with plain water before cleaning to dilute any runoff, and rinse the fence thoroughly when finished.
How do I remove green algae or black mildew that keeps coming back?
Recurring algae and mildew usually mean there’s a moisture or shade issue near that section of fence. Clean the affected area with a white vinegar solution or diluted bleach on white vinyl, then apply a vinyl protectant after drying. Trim back any vegetation pressing against the fence and improve airflow around the area to reduce future growth.